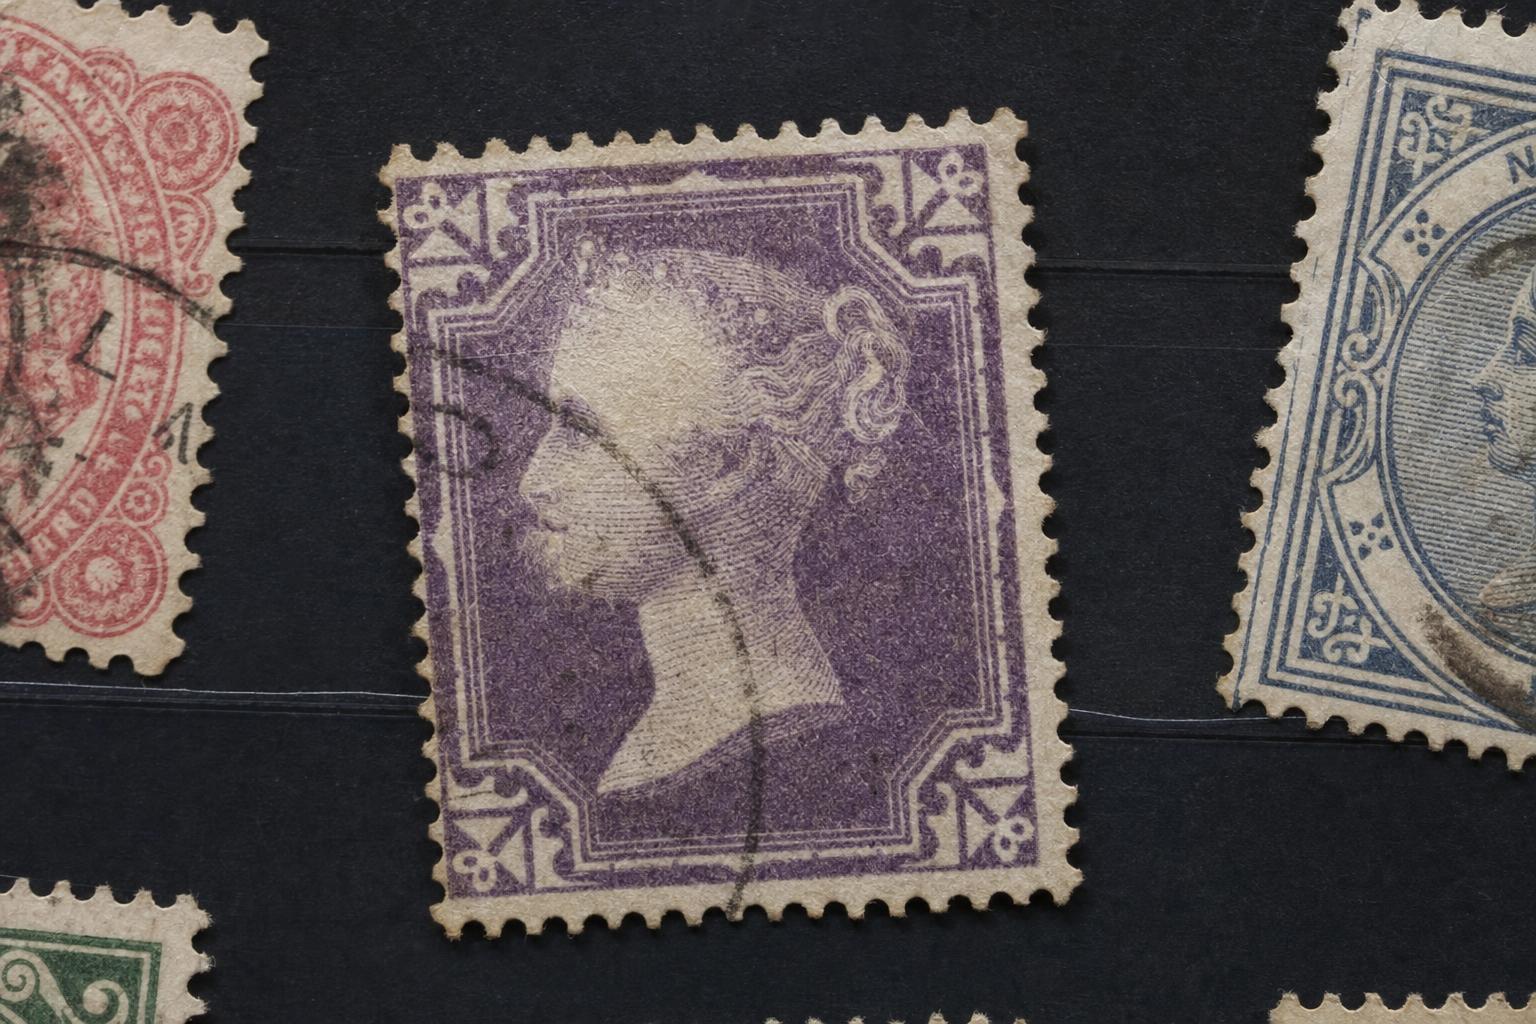
If you collect stamps, thin spots are one of those problems that eats value quietly. They’re invisible until you tilt the stamp or hold it to light, and then your heart sinks. Knowing why they happen and what to do about them keeps a collection healthy — and saleable.
## Understanding Causes Of Thin Spots On Stamps
Thin spots are rarely the result of a single mistake. Most come from repeated stress: rubbing, soaking, or chemical attack that removes paper fibers or the printed layer. The phrase causes of thin spots on stamps covers everything from rough hinging to franking-machine abrasion to old adhesives dissolving with time. Once the paper loses fibers, the stamp is permanently weakened. You can sometimes hide a thin spot, but you can’t reliably restore the original paper.
### Mechanical Abrasion: Handling And Storage Wear
Mechanical action is the easiest cause to spot. Frequent sliding of stamps across album pages, scraping with fingernails, or trapped grit rubbing against a stamp will wear the paper thin. Even light pressure over years creates hairline abrasions that become visible under backlighting.
– Albums with rough interleaving or paperboard leaves are culprits.
– Tight mounts and stiff stockbooks that press a stamp’s surface against another object also abrade.
Gummed older stamps are more fragile. When collectors hinge, press, or try to flatten curled stamps with force, they often remove fibers or lift the ink, producing a paler, thinner area where the paper layer has gone. This is classic stamp thinning.
### Chemical Action: Solvents, Repeated Soaking, And Cleaning
Chemical exposure accelerates fiber loss. Repeated soaking to remove hinges or adhesives isn’t harmless. Warm water removes gum, but if you soak stamps multiple times or use detergents and solvents, the sizing and fillers in the paper can wash out. Those fillers give paper body; when they go, the paper becomes translucent.
Using alcohol, acetone, or household cleaners on stamps is risky. These solvents can dissolve inks or the binder that locks fibers together, causing local weakening. Old repair attempts — pressing cellophane tape, applying glue, using adhesive-backed mounts incorrectly — also cause areas that will break down later. This kind of stamp damage often shows as irregularly shaped thin patches that don’t match any mechanical wear pattern.
### Hinging, Removal, And Improper Mounting
Hinges are where many collections start to thin. If a hinge is stuck under a stamp and you try to peel it off without moistening properly, the top layer of paper can come away. The same goes for removing stamps attached with modern adhesives; pulling at an angle or using too much force rips fibers.
Tearing isn’t the only outcome. Many collectors will reattach a torn or loose stamp with gummed paper or glue, then later remove that repair. Each intervention risks further loss. The simple act of flattening a curled hinge with heavy books can create a broad, subtle thinning where pressure and humidity work together to push fibers out.
### Poor Paper Quality, Printing Faults, And Manufacturing Issues
Not all thin spots are from collectors. Some are present from production: weak paper, uneven sizing, or fillers that didn’t bind properly can create spots that were fragile from day one. Printers sometimes used sheets with flaws; those areas show up only after handling or light exposure. In that situation, causes of thin spots on stamps include manufacturing defects as well as later handling.
### Environmental And Biological Factors
Humidity cycles and heat weaken paper over time. A stamp kept in a damp environment might develop mold or mildew that eats at fibers. Likewise, insects can nibble at margins or centers, leaving irregular thin patches. Sunlight fades inks and dries paper, making it brittle; brittle paper loses fibers when touched.
### Soaking Gone Wrong: Overdoing Water Removal
Soaking stamps to lift them from envelopes is standard, but there’s a right and wrong way. A single gentle soak followed by careful drying is usually fine. Repeated or prolonged soaking, especially in hot or soapy water, leaches sizing and makes the paper limp. When you handle the limp paper, you risk stretching and tearing fibers. Stamps with heavy cancellations or pasted adhesives need careful handling; scrubbing or scraping at them is a fast track to stamp thinning.
### Identifying Thin Spots Without Doing More Harm
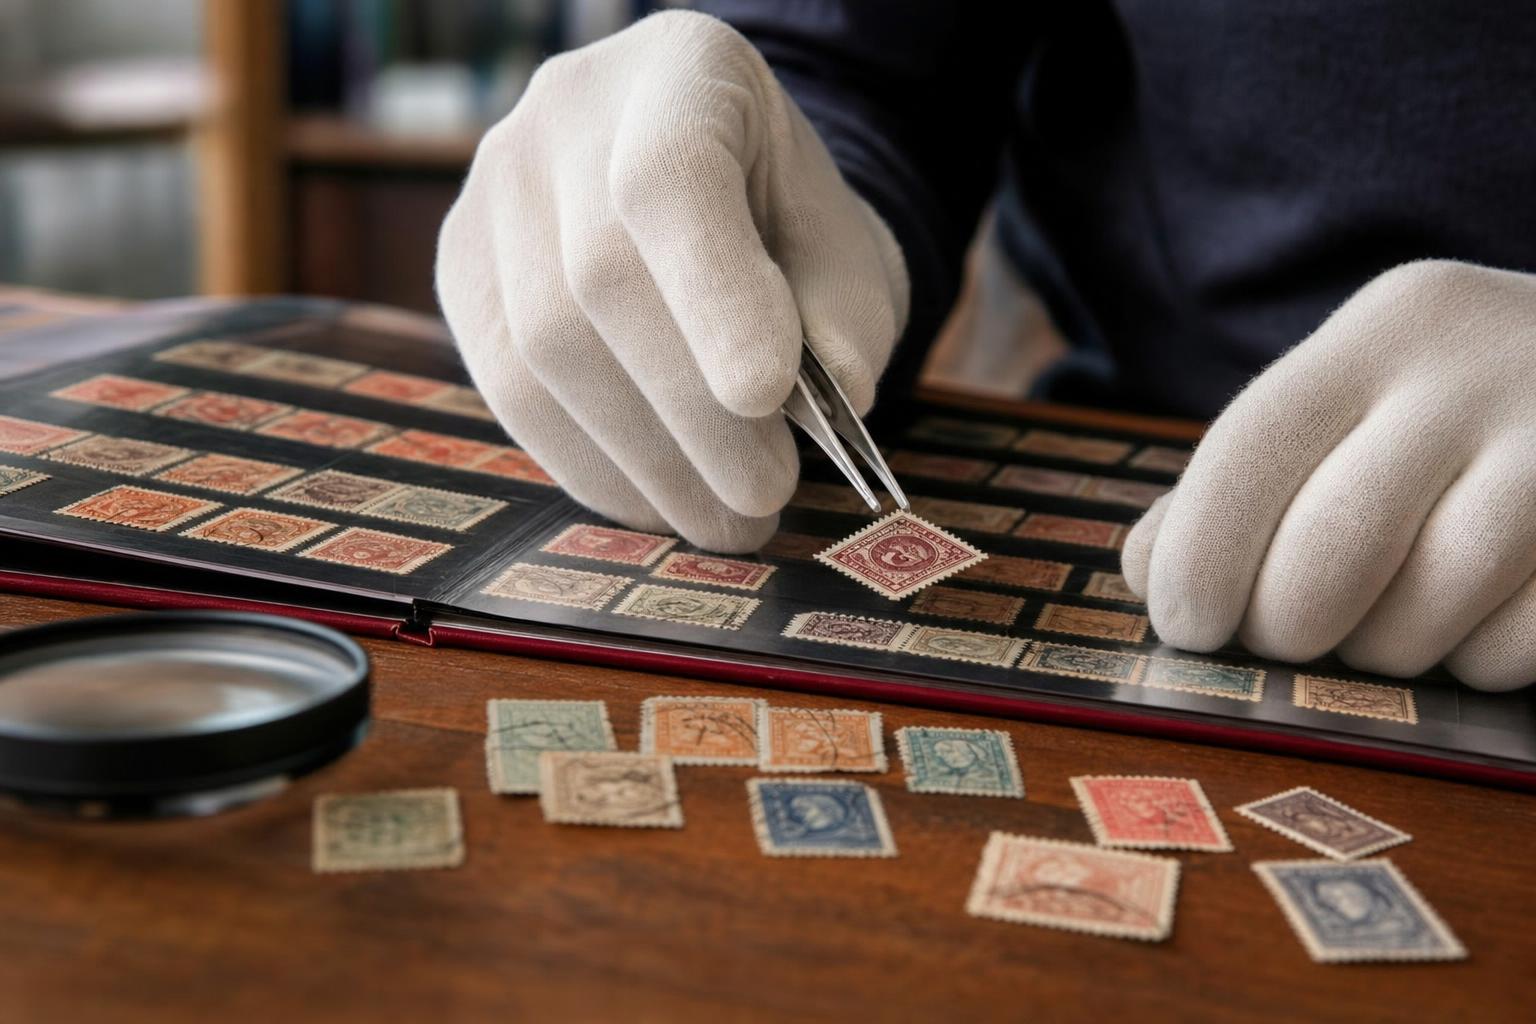
Detecting thin spots must be delicate work. Don’t rub or press the stamp. Use a bright, even light held behind the stamp; tilting helps reveal variations. A magnifier shows texture changes. If you suspect a thin spot, avoid pressing down or attempting any home patch repair — that tends to make things worse.
## Prevention Measures And Everyday Practices
Preventing thin spots is mostly about removing the stressors: less rubbing, fewer solvents, better storage, and more patient removal techniques. Below are practical steps that work for most collections.
### Handling: Tools And Habits That Protect Paper
Use stamp tongs. Plain and simple. Fingers leave oils and pressure. Tongs keep contact minimal and reduce the chance of accidental scraping. When you do need to touch a stamp, handle the edges only.
Avoid stacking stamps face-to-face without protection. Stamps sticking together are a problem waiting to happen. If two stamps must be in contact, slide a thin, inert interleaving between them.
Don’t press a stamp to force it flat. Instead, humidify gently and dry under light weight. That prevents tearing and thinning from manual flattening.
### Storage: Materials And Environments That Reduce Risk
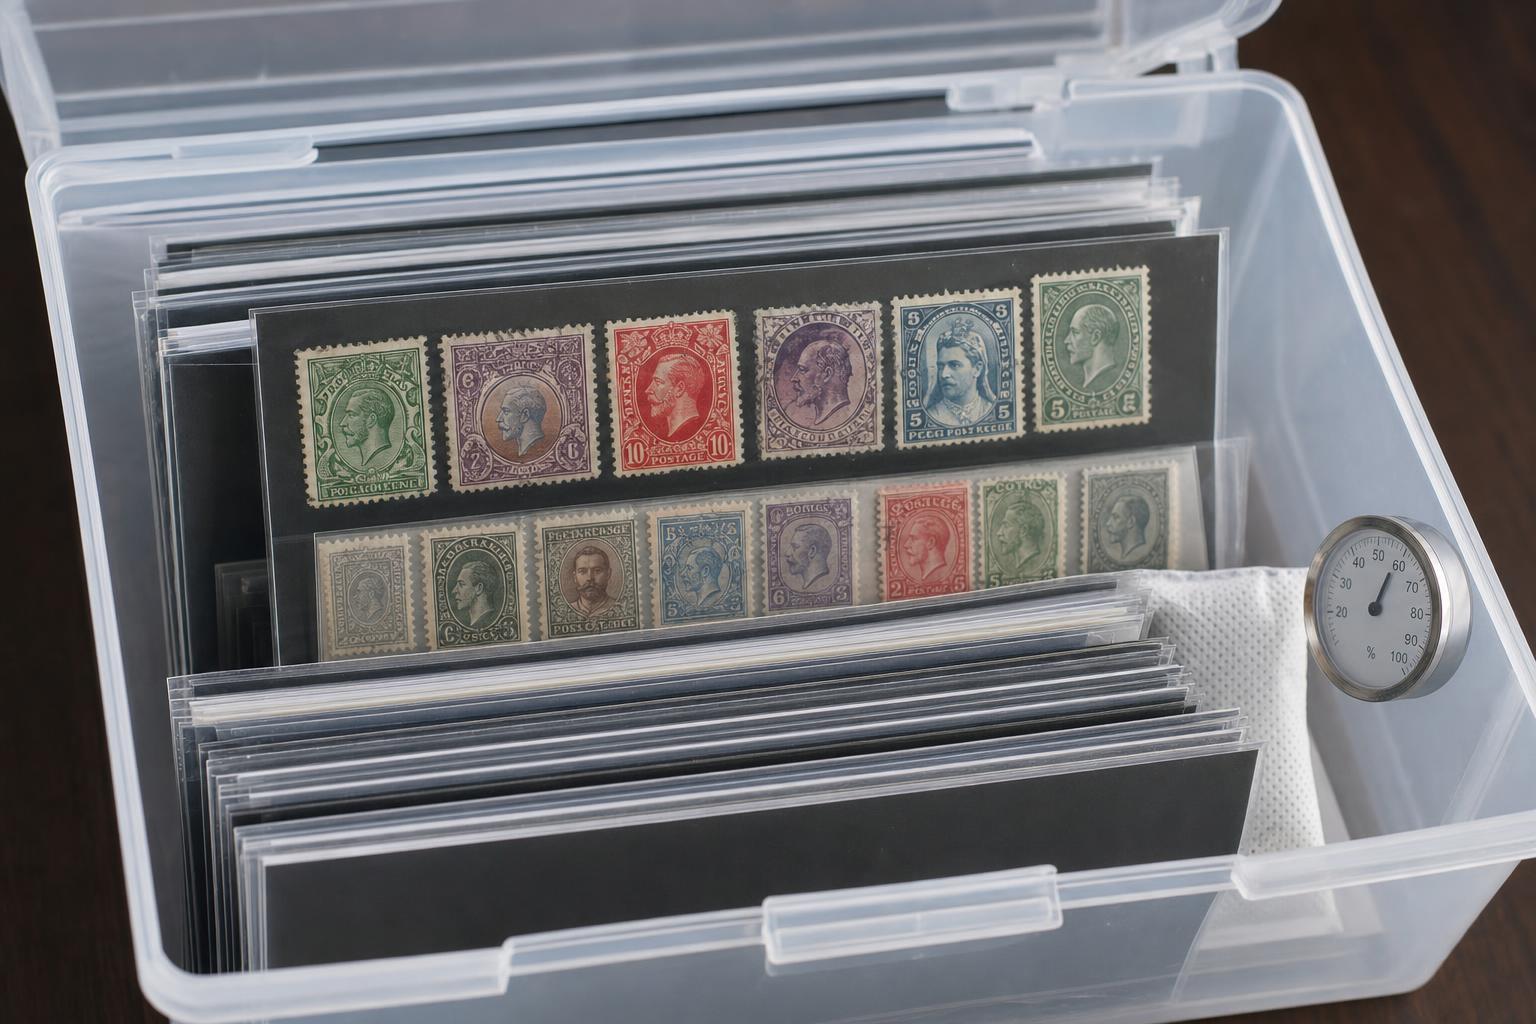
Store stamps in low-acid albums or archival-quality stockbooks. Cheap paperboard and PVC mounts leach plasticizers that soften and attack paper. Use mounts labeled archival or PVC-free. For sheet storage, use mylar sleeves or archival glassine.
Keep humidity steady. Aim for 40–55% relative humidity. Too dry and paper becomes brittle; too humid and you invite mold and insect activity. A basic hygrometer in your storage room helps. Avoid attics and basements where temperature and humidity swing widely.
Light control matters too. Prolonged exposure to sunlight or strong artificial light fades inks and dries paper, making thinning more likely over decades.
### Soaking And Cleaning: Techniques That Preserve Sizing
If you must soak, be gentle. Use warm — not hot — distilled water. A single, short soak usually frees a stamp from envelope fibers without washing out sizing. If the stamp holds ink poorly or has heavy adhesive, change the water and repeat briefly, rather than soaking for long periods.
Avoid detergents and solvents unless you really know what you’re doing. For stubborn adhesive, a specialized philatelic product or a conservator is safer. When drying, place stamps on blotting paper or unprinted newsprint and let them dry naturally under light weight. Avoid hairdryers and direct heat.
### Repairs And Restorations: When To Get Professional Help
If a thin spot is severe, or if you’re tempted to mend with tape, skip it. Tape and common glues are long-term enemies of paper. Professional stamp conservators have the tools and reversible materials to stabilize weak areas without causing more stamp damage. Even elderly stamps with value can often be stabilized in ways a quick home fix cannot match.
### Mounting And Display: Choices That Protect The Paper
Prefer mounting methods that don’t require glue on the stamp’s back. Mounts and hinges that attach only to the album page save the stamp from re-gumming trauma. For high-value items, hingeless mounts and clear sleeves keep a stamp supported and visible without direct adhesives.
When displaying, use UV-filtering glass if the item will be exposed to light. Keep display periods short to minimize light fatigue.
### Regular Checks And Minimal Intervention
Inspect your collection every so often for signs of wear, insect activity, or moisture. Catching a problem early — a new thin spot, a sticky hinge, or a damp smell — lets you act before the issue spreads. Minimal intervention is often best: a gentle re-housing or moving a suspect stamp to a safer environment prevents escalation.
#### A Short Checklist For Everyday Prevention
– Use tongs and handle edges only.
– Soak gently and dry on blotting paper.
– Store in archival mounts and steady humidity.
– Don’t use household tapes or glues.
– Get professionals for serious repairs.
## Putting It Together: Real-World Examples And Quick Wins
I once saw a promising 19th-century set that had lost value because of widespread stamp thinning from a single misapplied sheet of adhesive in a cheap album. The collector had used commercial glue to reattach loose stamps; over years, the glue ate paper and made thin spots appear under cancellations. The fix? Rehouse the stamps into archival mounts and consult a conservator for the worst pieces. Value didn’t fully return, but further stamp damage was arrested.
Another case: a new collector kept stamps in a wallet with coins. The friction and grit from coins produced tiny abrasions that, over time, became noticeable thin spots. A quick change to stock pages and some gentle cleaning stopped the problem. Those stamps were only lightly affected and were salvagable.
Small habits change outcomes. Swap cheap albums, stop aggressive cleaning, and treat each stamp like a small sheet of fragile paper. Over a lifetime, that restraint will keep thinning at bay.
Careful observation matters. Thin spots are often first visible at the edge where a hinge once stuck or where a postmark was heavily scrubbed. When you see those signs, act with light hands and the right materials. It’s not dramatic work. Mostly it’s restraint, patience, and decent storage. Mispelled mistakes and hurried fixes are what make the problem worse. If you catch issues early, most stamp damage is preventable.
Leave a Reply