There’s a particular kind of treasure hunt that lives in plain sight: a tiny, almost secret emblem pressed into paper, telling stories of printing processes, postal authorities and sometimes even forgeries. Whether you collect for history or hobby, learning the art of revealing these ghostly impressions is part science, part ceremony.
## How To Find A Watermark On A Stamp: The Ultimate Guide
### Why Watermarks Matter To Collectors And Curators
Watermarks are subtle designs embedded in stamp paper during manufacture. A stamp watermark can confirm issue, indicate print run, or reveal a rare variant that elevates value. For philatelists, the thrill isn’t just monetary; watermarks on stamps link a small piece of paper to an industrial process and historical context. Learning how to find a watermark on a stamp sharpens identification skills and deepens appreciation for the craft of stampmaking.
### Understanding The Basics Of Paper And Light
Light behaves differently through thin and thick parts of paper. Where the paper was modified for a watermark, it transmits light in a unique way, producing tonal differences you can exploit. Familiarity with this behavior is the backbone of every technique used to disclose hidden marks. Before touching rare pieces, practice on common, inexpensive stamps so you understand the range of outcomes.
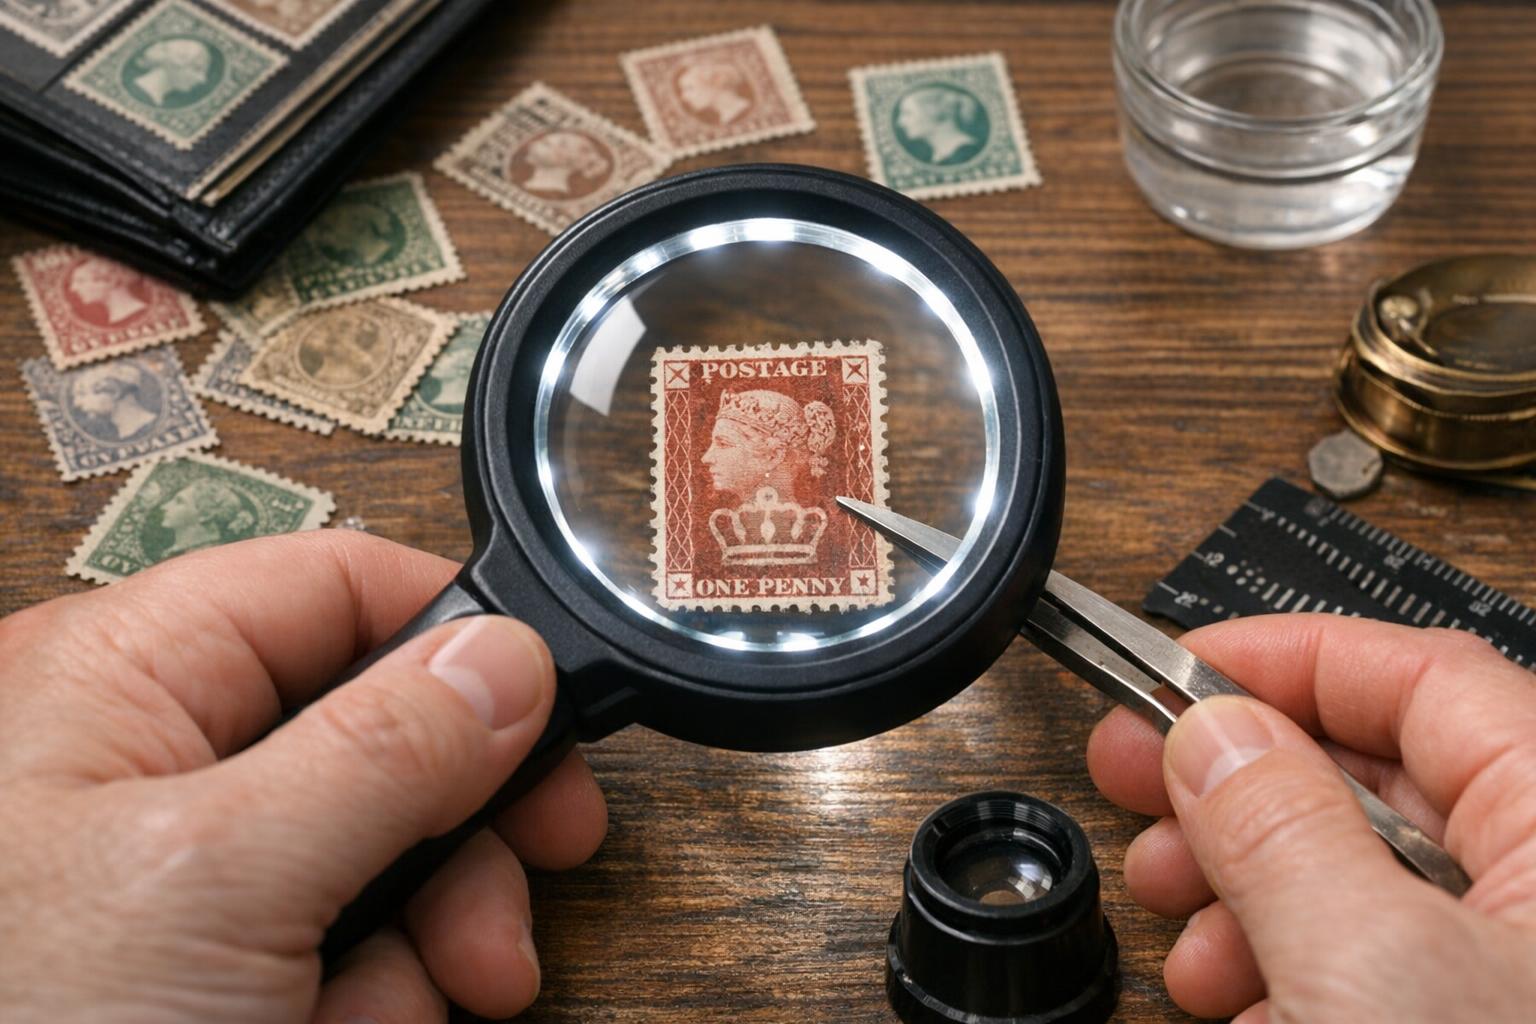
### Tools You’ll Need To Reveal Hidden Marks
Whether you use simple household items or specialist gear, the right tools protect stamps and make watermarks visible. Below are the essential items collectors reach for when they want to learn how to find a watermark on a stamp.
#### Materials And Equipment
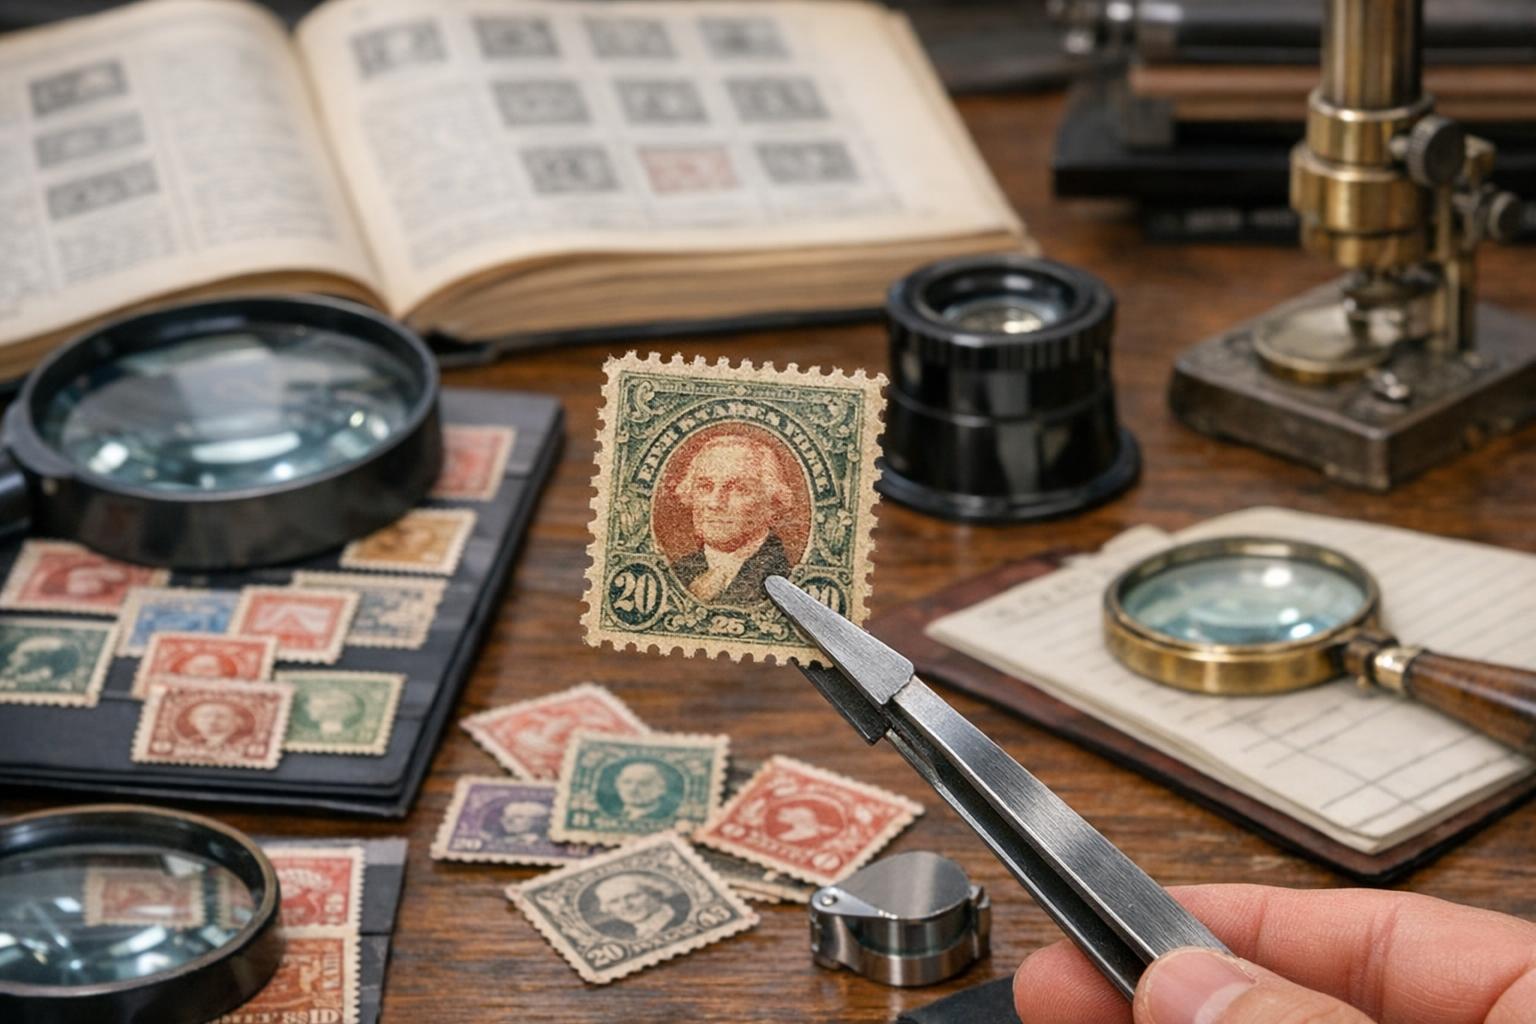
– Soft tweezers (preferably nylon-tipped) for safe handling.
– A clean, flat watermark tray (black or white) or a plain dark card.
– A bright, diffuse light source — LED desk lamp or lightbox.
– Stamp watermark fluid (commercially made; denatured alcohol is not a substitute).
– Cotton gloves (optional) to avoid oils from fingers.
– Magnifier (10x loupe) for inspection.
– Electronic watermark detector (optional for advanced collectors).
– Absorbent paper towels and a glass plate (for fluid method).
## 1. Watermark Fluid Method (Chemical, Traditional)
This is a formal, widely accepted approach among collectors and dealers to reveal a watermark without damaging the stamp when applied correctly.
### Ingredients / Required Materials
– Commercial watermark fluid (non-reactive, designed for philately).
– Glass or ceramic plate.
– Absorbent lint-free towels.
– Soft tweezers and gloves.
– Clean, flat surface and good ventilation.
### Step-By-Step Application (Formal Procedure)
1. Prepare the workspace: lay absorbent towels on a flat table and wear gloves to prevent oils contacting the stamp.
2. Place the stamp face-down on the glass plate with the gum or back facing up. Use tweezers to avoid touching the adhesive side.
3. Apply a single drop of watermark fluid to the center of the stamp back. Do not soak; a controlled bead is sufficient.
4. Wait 5–10 seconds and gently tilt the glass under diffuse light. Observe the tonal changes: darker or lighter areas indicate watermark elements. A clean stamp watermark will show contrast without the paper becoming translucent.
5. If needed, add another tiny drop to expand the wetted area, but avoid over-saturating.
6. When finished, blot the fluid by positioning the stamp between two absorbent towels and applying light pressure or lift the stamp using tweezers and allow it to air-dry on the towel under weight-free conditions.
7. If any residue remains after drying, gently breathe on the surface and wipe very lightly with a dry lint-free cloth; do not rub.
Safety and Notes:
– Use only products labeled for stamp watermark detection. Household solvents can dissolve inks or adhesives.
– Work in a ventilated area and avoid inhaling fumes.
– Test on common, inexpensive stamps first to judge how long to leave fluid in place.
## 2. Backlighting And Tray Method (No-Chemical Visual Technique)
For collectors who prefer non-chemical approaches, backlighting is safe and effective, especially on thin paper or stamps without heavy gum.
### Required Materials
– Watermark tray or plain dark card.
– LED desk lamp or a lightbox with adjustable intensity.
– Tweezers, magnifier, cotton gloves.
### Step-By-Step Application (Formal Procedure)
1. Place the stamp face-down on the watermark tray centered over the recess or over a dark background if you don’t have a tray.
2. Position the lamp behind the tray so light passes through the stamp edge-on. Adjust intensity until tonal differences begin to appear.
3. Slowly tilt the tray and stamp; small angular changes can reveal different contrasts. Look for lighter or darker shapes that correspond to watermark patterns.
4. Use the magnifier to discern finer details and compare to watermark charts for identification.
5. If necessary, switch to a white background to see reverse contrast; some watermarks show better against light backgrounds.
This method is non-invasive and excellent for routine examination of watermarks on stamps. It’s particularly useful for identifying coarse watermarks or those on thin paper.
## 3. Electronic Watermark Detector Method (Modern, High-Accuracy)
Electronic detectors combine light modulation and magnification to digitally amplify watermark contrasts. They are particularly useful for busy dealers or archival work.
### Required Materials
– Portable electronic watermark detector or specialized light table.
– Power source or batteries.
– Soft tweezers and magnifier for confirmation.
### Step-By-Step Application (Formal Procedure)
1. Power up the detector and calibrate according to manufacturer instructions.
2. Hold or place the stamp according to the device’s specifications (face-up or face-down depending on the instrument).
3. Activate the scanning function; many devices cycle through polarizations and intensities automatically to optimize visibility.
4. Review the display, which often enhances or outlines watermark features. Capture images if the device allows.
5. Cross-reference the displayed pattern with catalog images or watermark guides.
Electronic devices minimize user error and preserve stamps since there’s no contact with fluids. They represent the most consistent way to study watermarks on stamps for research-grade identification.
### Tips For Challenging Or Rare Stamps
– If a watermark refuses to appear, gently try both light and dark backgrounds: some patterns invert depending on lighting.
– Avoid mechanical pressure or heat, which can flatten or alter the stamp surface permanently.
– For stamps with heavy gum or paper thickness, watermark fluid may be necessary; use minimal amounts and practice first.
– Keep a watermark catalogue or digital reference close by. Matching shapes and letters is often how a stamp’s identity becomes certain.
### When To Call A Specialist
If a valuable stamp resists identification or you suspect a hidden variant, consult a professional philatelic expert or laboratory. High-value items deserve non-invasive testing and expert opinion, especially when provenance or authenticity is in question.
Mastering how to find a watermark on a stamp takes patience, respect for materials and a few reliable techniques. With these methods—chemical, optical and electronic—you’ll be equipped to read the paper’s whispers and add a new layer of knowledge to every collection.
Leave a Reply