Don’t glue or stick anything until you’ve given the stamps a little TLC. New collectors often pull a sheet or a bundle of purchased stamps and immediately think about mounting. That’s tempting, but proper loose stamp storage before mounting is what keeps color, gum, and margins intact.
## Loose Stamp Storage Before Mounting: Practical Prep
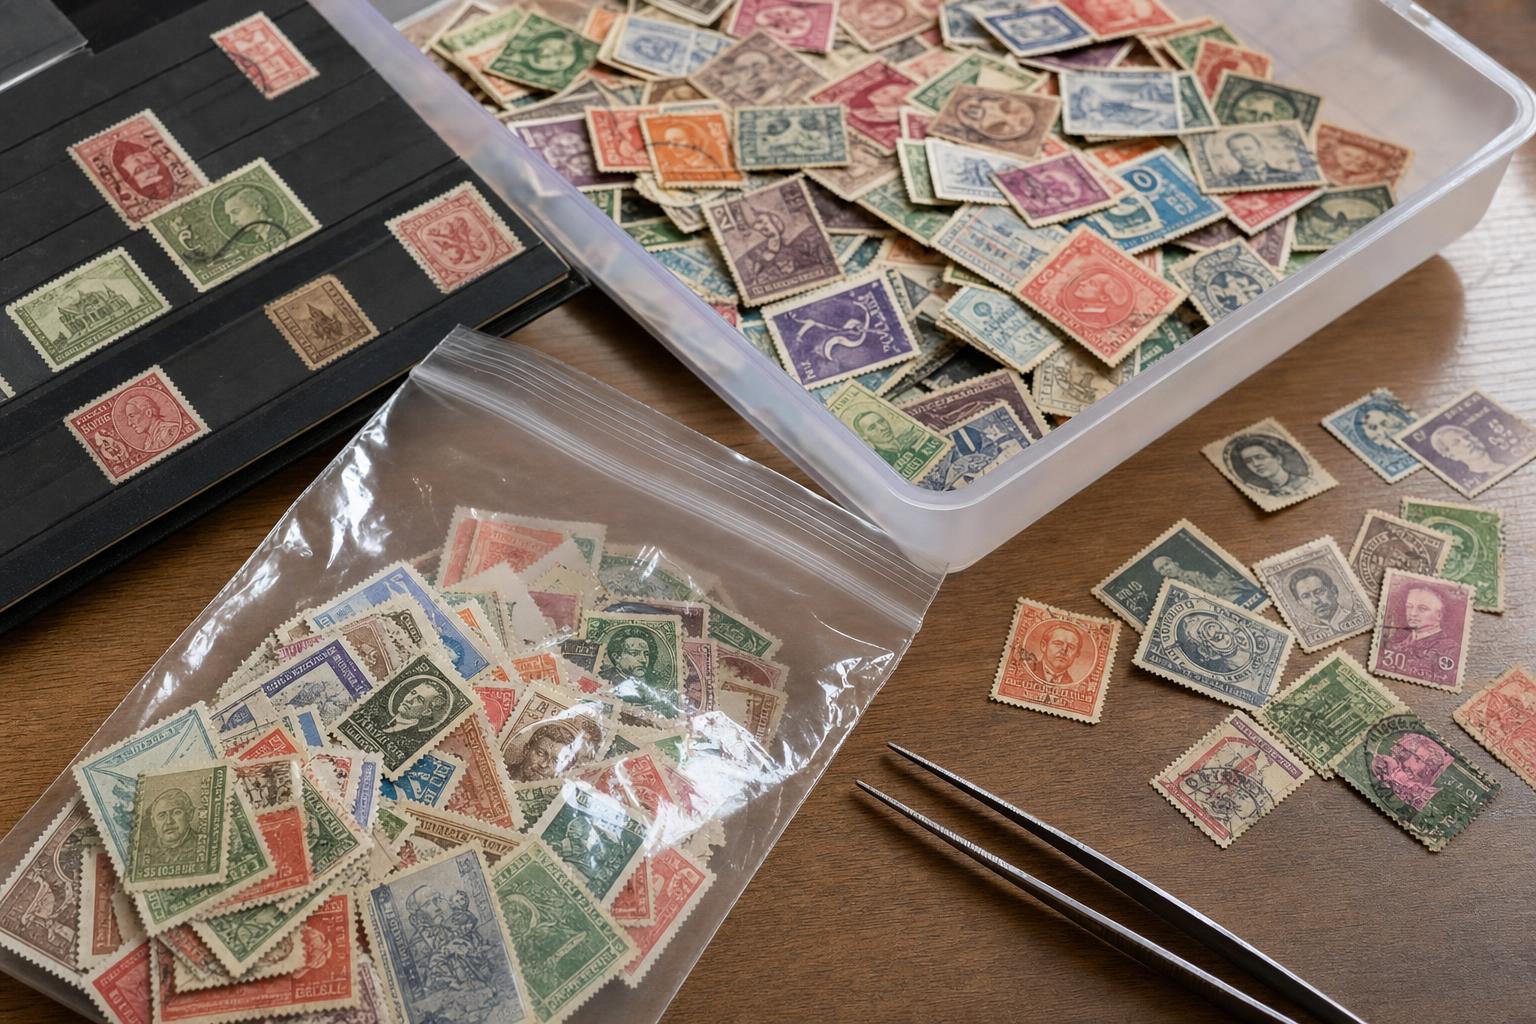
Before you mount, you need a plan that protects stamps physically and chemically. Loose stamp storage before mounting should prevent bending, moisture damage, and chemical reactions with adhesives or poor-quality paper. Think of this step as triage: separate any items with obvious problems, then stabilize the rest.
### Assess The Batch
Start by sorting. Put damaged, dirty, or heavily hinged stamps aside. These will need cleaning, repair, or special attention, while the rest can go into general storage. Keep stamps from different countries or eras separate if you suspect differing paper types or gum sensitivities.
### Short-Term Versus Long-Term Storage
Short-term storage is for stamps you plan to mount within weeks. Put these in clean glassine envelopes or on stock cards in a cool, dry place. For long-term, invest more: acid-free albums, polyester sleeves, and archival boxes. The rules for loose stamp storage before mounting change depending on time horizon; short-term you can be a bit looser, long-term you must be deliberate.
## Materials And Tools For Safe Stamp Storage
Not everything labeled “archival” is equal. Spend a little time choosing the right tools; it’ll save you headaches.
### Basic Supplies Every Beginner Needs
– Glassine Envelopes: Cheap, breathable, and ideal for sorting. They let you see the stamp without touching it.
– Stock Pages Or Stockcards: Good for viewing without mounting. They let you slide stamps in and out without handling.
– Tweezers: Use stamp tongs, not household tweezers. They have rounded, non-slip tips.
– Archival Boxes: Keep collections flat and shielded from dust.
Use only materials that are acid-free. Polyester sleeves are excellent for single stamps but can trap moisture if used improperly. For most beginners, a combination of glassine envelopes and a good stockbook works best.
### What To Avoid
Avoid PVC plastics, cheap self-adhesive albums, and newspaper for wrapping. These contain chemicals or acids that will happily leach into paper over time. Also, don’t stack heavy items on top of stored stamps—pressure can lead to creases you won’t see until it’s too late.
## Environmental Controls That Matter
You don’t need a climate-controlled vault, but you do need common sense.
### Temperature And Humidity
Aim for a stable environment: around 18–22°C (65–72°F) and 45–55% relative humidity is reasonable for most collectors. High humidity encourages mold and gum softenings; very low humidity can dry out paper and make it brittle. Avoid attics and basements where conditions swing wildly.
### Light Exposure
Store stamps in the dark as much as possible. Light fades inks and weakens paper fibers. If you display stamps temporarily, do it behind UV-filtering glass and rotate exhibits often.
## Handling Practices To Protect Value
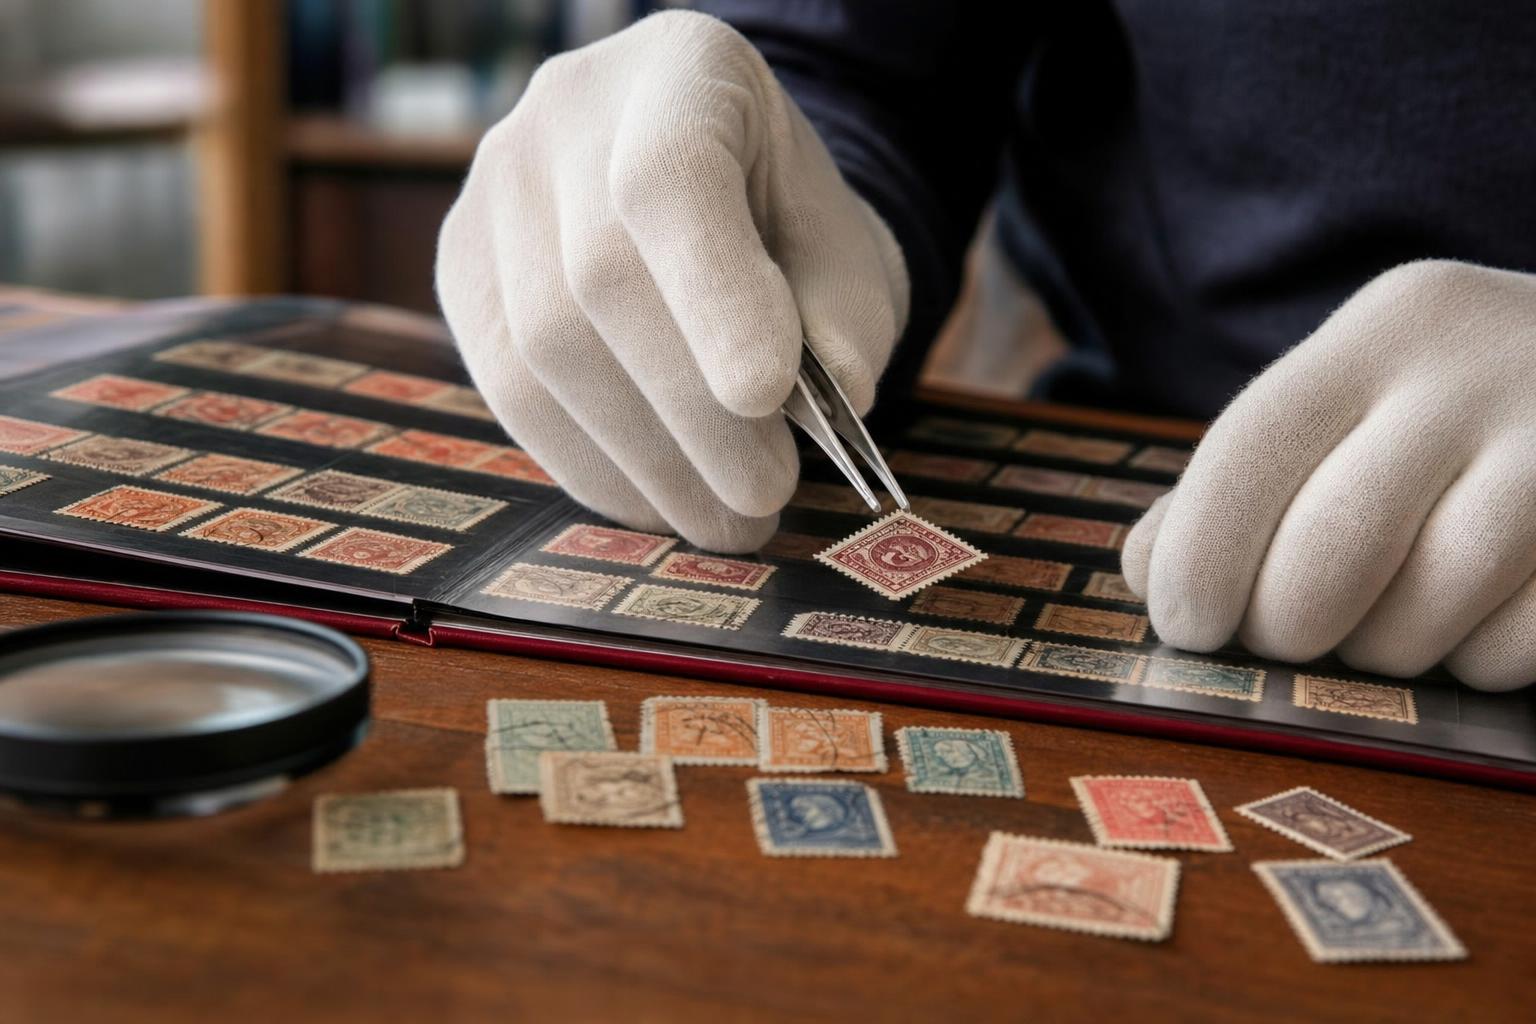
Handling is where most physical damage happens. Treat stamps like fragile collectibles.
### How To Touch A Stamp
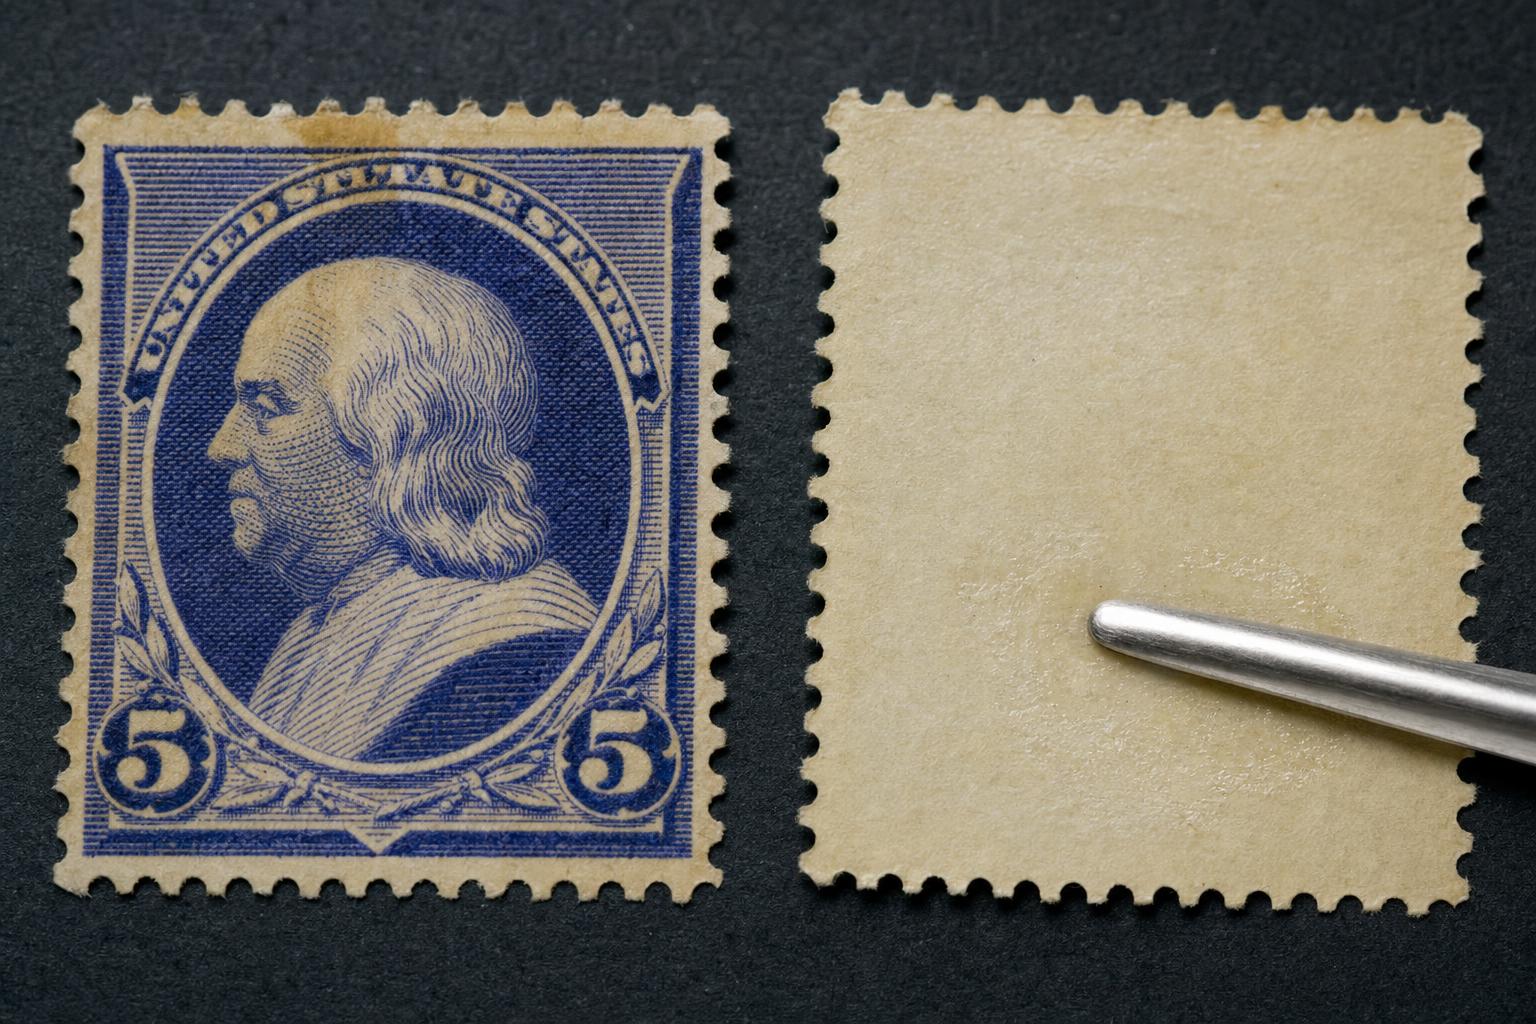
Always use stamp tongs. Pick up stamps by the edges. Don’t breathe on them to moisten the gum, and never touch the gum side with fingers. If you must inspect the back, place the stamp on a clean piece of glassine and use a loupe.
### Inspection And Cleaning
Gentle surface cleaning can be done with a soft brush or eraser crumbs, but avoid harsh methods. If a stamp smells musty or shows heavy soiling, consult a more experienced collector or a restorer before attempting to clean it yourself.
## Organizing And Labeling While Unmounted
Organization makes mounting easier later. Treat your loose storage like a filing system.
### Simple Filing Strategies
Label glassine envelopes with a pencil—not ink—on the outside. Write country, year, catalog number if you know it, and any grade notes (e.g., “thin at top margin”). Store envelopes in a labeled box by theme, country, or date. That way, when you’re ready to mount, you won’t be digging through stacks.
#### Digital Records
Keep a simple spreadsheet with images or notes. Photograph each stamp before mounting so you have a record of condition. This helps if damage occurs during mounting; you’ll know whether it was preexisting.
#### Inventory Practices
Number lots or envelopes and cross-reference with your digital file. It takes five extra minutes per envelope and saves you hours later when looking for that elusive issue.
## How To Prepare Stamps Before Mounting
A few quick steps before you permanently place a stamp will protect it and reduce regret.
### Final Checks
Check for gum condition, tears, or creases. Flatten slightly curled stamps under a book with protective paper for a day or two. If a stamp has hinges or residue, decide whether to remove them (carefully with a dampening process) or to mount as-is. Keep records of any intervention.
### Drying And Flattening
If stamps get damp or warped, dry them slowly on blotting paper with light weights. Jumping to heat or forced drying will warp them more. Separate stamps so edges don’t stick—seperate handling pays off.
## Common Beginner Mistakes To Avoid
You will make errors; accept that. But some mistakes are avoidable.
### Mounting Too Fast
People rush into using mounts or adhesives that aren’t reversible. Use mounts designed for philately—hinges for older collections, clear mounts for mint items. Don’t use regular tape, glue, or adhesives from office supplies.
### Mixing Media
Paper types react differently. Never store stamps and loose paper ephemera in the same packet without a barrier. Old gum can transfer, inks can bleed. Keep things simple and compartmentalized.
## When To Ask For Help
If you encounter mold, heavy foxing, or suspect chemical damage, stop and ask. A local stamp club, a knowledgeable dealer, or online specialist forums can offer quick advice and save a damaged item. It’s better to pause than to compound a problem.
Keep the work slow and the supplies simple. With steady, sensible loose stamp storage before mounting, your collection will stay cleaner and more flexible. Eventually you’ll develop your own system—one that suits the size of your collection and how often you want to handle it. Until then, protect the paper and the color, and don’t rush the mount.
Leave a Reply