Collectors and dealers assess the condition of a stamp with meticulous care; small imperfections can alter provenance, rarity assessments and market value. Among these imperfections, a thin is a frequent and often misunderstood condition issue. The following exposition explains what a thin is, why it occurs, how to detect it, and how conservators may address it when appropriate.
## What Is A Thin On A Stamp: Definition And Causes
A thin on a stamp is a localized area where the paper or gum has been removed or weakened, producing reduced thickness and often causing light to transmit differently through the affected area. By clarifying what is a thin on a stamp, a collector can distinguish between cosmetic irregularities and structural compromises that materially affect a stamp’s grade and value.
Thins arise through several mechanisms. Mechanical abrasion from improper removal from an envelope, use of abrasive hinges, or rough handling can remove fibers. Chemical interactions — such as prolonged contact with damp adhesives, adhesives removed with solvents, or insect or mold activity — can also solubilize or alter cellulose, producing a thin. Inexperienced attempts to separate stamps using knives, blades or overly aggressive soaking can likewise result in a stamp thin. Finally, manufacturing defects and paper irregularities may present at the time of production and later be categorized as a stamp flaw if they alter the intended characteristics.
### Types Of Thins And Their Philatelic Classification
Classification of thins depends on origin and severity. Collectors and professional graders typically distinguish between:
#### Abrasion Thins
These are caused by friction or scraping and are often irregular in shape with rough edges.
#### Solvent Or Chemical Thins
These tend to display softened margins and may be accompanied by gum disturbance or discoloration.
#### Production Thins
Occasionally, a thin may be inherent from printing or paper manufacture; these are a particular type of stamp flaw that may have different implications for valuation.
## Detection And Diagnostic Techniques
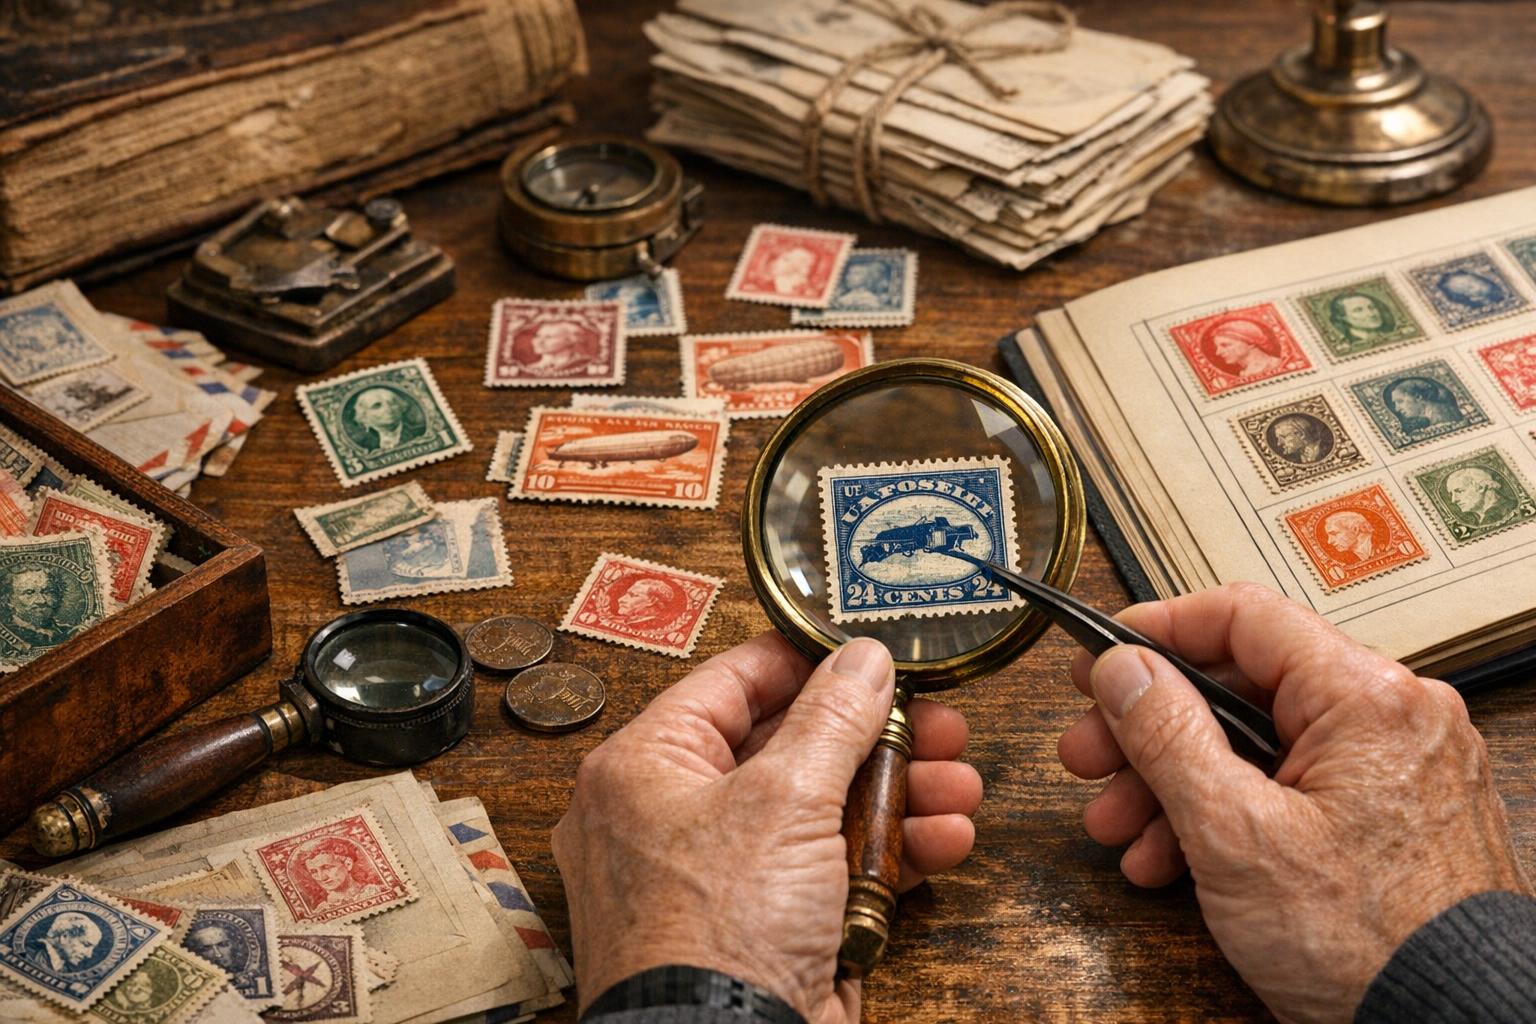
Detecting a thin requires careful handling and appropriate tools. Knowing what is a thin on a stamp necessitates precise observation under controlled lighting and magnification.
### Visual And Tactile Inspection
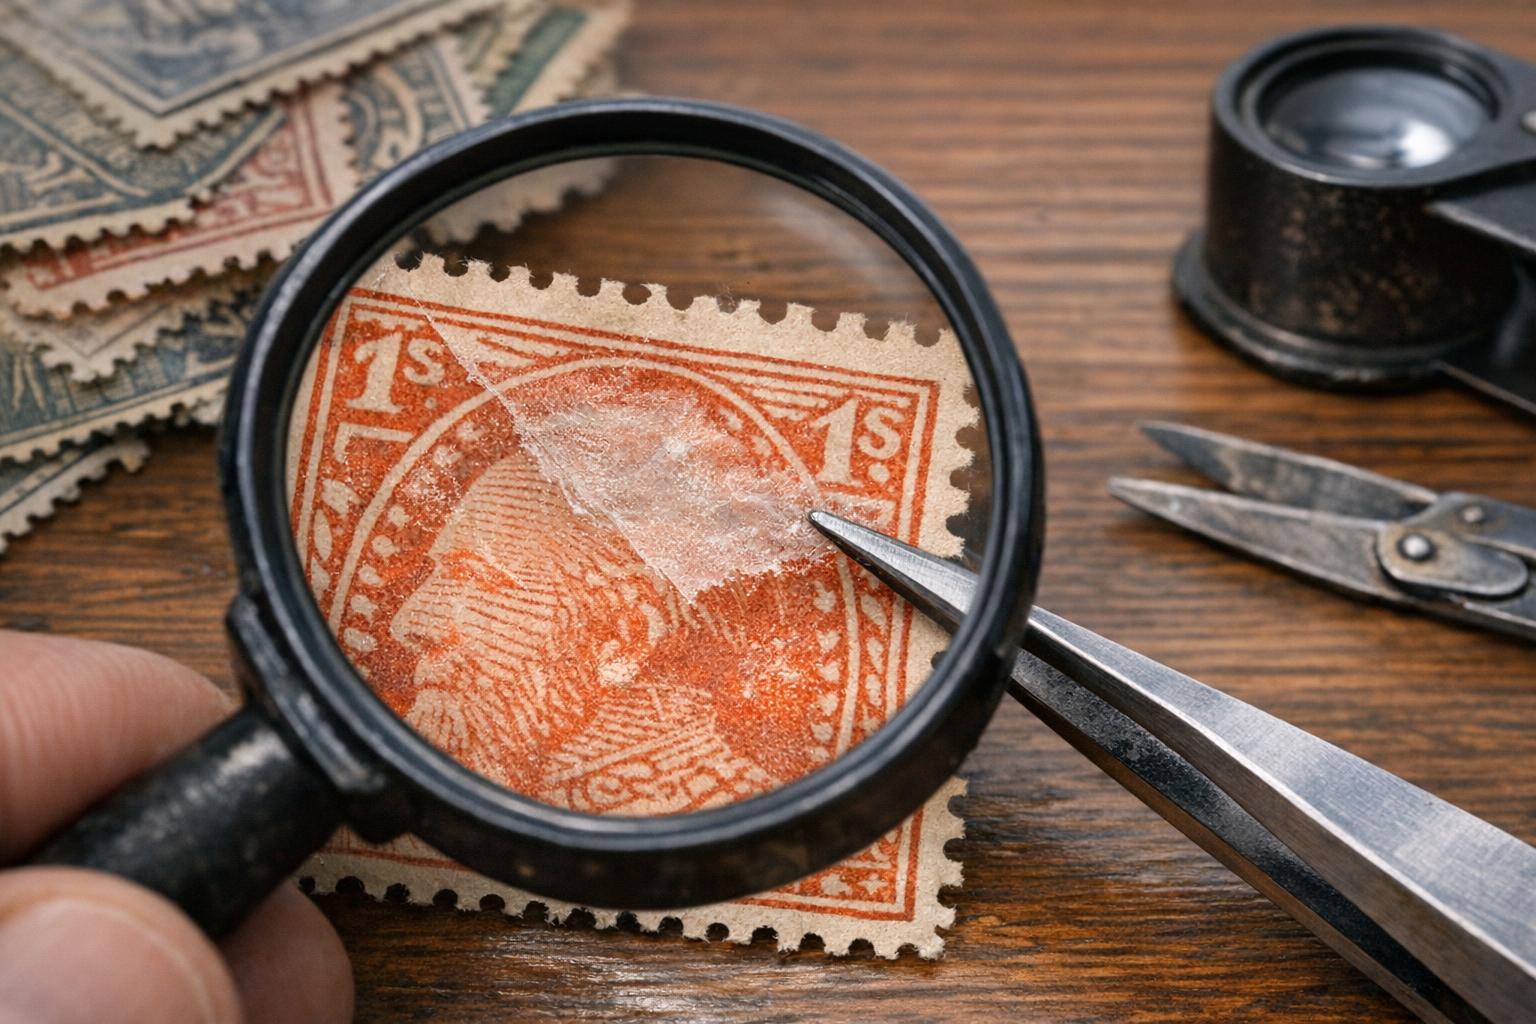
Begin with unobtrusive observation. Hold the stamp at an angle to a strong light source; a thin will typically transmit more light than surrounding intact paper, often revealing a translucent spot. Gently run a clean fingertip over the area to sense a change in texture or a depression; do not apply pressure that could cause further damage.
#### Use Of Magnification
A 10x to 30x loupe reveals fiber loss, surface abrasion, or faint depressions. Under magnification, an abrasion thin will show disrupted fibers and irregular borders, whereas a production thin may show a consistent paper texture but reduced thickness.
### Technical Aids
Transillumination (holding the stamp against a light panel) is a primary diagnostic technique. Ultraviolet (UV) lamps can reveal gum disturbances and previous treatments. Professional conservators sometimes employ micro-CT imaging or other lab-based methods for complex cases, but these are generally unnecessary for routine collecting.
## Valuation Impact: How Thins Affect Market Perception
Understanding what is a thin on a stamp is essential because even minor thins can transform a stamp’s market standing. A small, unobtrusive thin may reduce grade by one or two levels, while a large or centrally located thin can render a stamp commercially unattractive except to specialists or for reference.
### The Difference Between A Stamp Thin And Other Flaws
A stamp thin is a specific form of structural loss in the paper. The term stamp flaw is broader and includes printing errors, misperforations, color shifts and paper defects. Some production-era stamp flaws are desirable to specialists and may command premiums; conversely, a postal or handling-induced thin almost invariably detracts from value.
## Preventive Measures And Handling Best Practices
Prevention is the principal means of addressing thins. Knowledge of what is a thin on a stamp should inform storage and handling protocols. Use stamp tongs, avoid hinges when possible, employ archival mounts, and store stamps in stable humidity and temperature to minimize adhesive migration and mold risk. Never attempt to force separation of a stamp from backing with a blade.
### Storage Recommendations
Use buffered or neutral pH albums and holders. Maintain relative humidity between 40–55% and temperatures below 25°C (77°F). These conditions reduce the risk of adhesive breakdown that could later produce a thin.
## Remedy: Repairing And Stabilizing A Stamp Thin
When prevention fails and a thin is present, professional stabilization can preserve the stamp and limit further deterioration. The following remedy outlines a conservative backing technique used by qualified conservators to stabilize a thin without attempting to disguise it. This procedure is provided for informational purposes; nonprofessionals are advised to consult a trained philatelic conservator before attempting repairs.
### Required Materials
– Japanese tissue (washi), 2–4 g/m² weight, long-fiber paper
– Wheat starch paste (reversible adhesive) prepared to a gel consistency
– pH-neutral blotters and filter paper
– Distilled water for paste preparation and controlled moistening
– Micro-spatulas and a fine brush
– Lightweight archival press (or weighted boards)
– Transillumination light panel for inspection
– Gloves and tweezers
### Step-By-Step Stabilization Procedure
1. Preparation and Assessment: Under transillumination, document the thin’s size and location. Determine whether a backing is appropriate; do not attempt if the stamp’s pigments or gum are water-sensitive unless performed by a conservator.
2. Cut Support Tissue: Trim a Japanese tissue support slightly larger than the thin, with rounded corners to prevent lifting. The tissue must be thin and flexible.
3. Prepare Adhesive: Mix wheat starch paste to a smooth gel. Strain to remove lumps and cool to room temperature. Maintain a consistency that provides adequate adhesion but minimizes penetration.
4. Apply Adhesive Sparingly: Using a fine brush, apply a minimal coating of paste to the support tissue. Avoid saturating the tissue; blot excess on filter paper.
5. Positioning: With tweezers, place the tissue support onto the reverse (gum side) of the stamp directly beneath the thin. If the gum side must remain intact, a slightly smaller tissue may be placed around the periphery to avoid covering original gum.
6. Gentle Bonding: Using a micro-spatula and a peel of non-stick release paper, apply light pressure to ensure contact without flattening the stamp’s design. Work from center outward to avoid air pockets.
7. Drying Under Weight: Place the stamp between pH-neutral blotters and place a lightweight, evenly distributed weight on top. Allow slow drying for 24–48 hours in a controlled environment.
8. Final Inspection: After drying, inspect under magnification and transillumination to ensure the support is secure and not visible from the face. Document the treatment in provenance records.
Conservators emphasize that this stabilization is intended to limit further fiber loss, not to hide the thin. Ethical practice requires disclosure of any repair or backing in sale or display contexts.
### When Restoration Is Not Advisable
Do not attempt aggressive infill or chemical treatments to make the thin invisible; such interventions are likely irreversible and can further degrade the stamp. If a stamp thin coexists with a significant stamp flaw of production origin, seek specialist counsel to determine whether the thin might be considered part of the flaw’s narrative rather than mere damage.
## Documentation And Disclosure
Transparent documentation is crucial after any intervention. Record the initial condition, the materials used, the steps taken and the conservator’s credentials. When offering a stamp for sale, clearly state the presence of a thin or any repair. Buyers evaluate condition and value with full disclosure; failure to reveal a repair may constitute misrepresentation.
### Ethical Considerations For Dealers And Collectors
Collectors should learn to recognize what is a thin on a stamp and expect confirmation of condition from sellers. Dealers ought to maintain written records and photographic evidence of any remedial work. Grading agencies and auction houses typically treat repaired thins differently from untouched production-era stamp flaws; accurate disclosure preserves trust in the marketplace.
## When To Consult A Professional
If a thin is large, centrally located, associated with active mold, or suspected to be the result of chemical exposure, consult a professional philatelic conservator or a recognized restoration laboratory. These practitioners have the training to evaluate risks and to use advanced, reversible techniques when stabilization is justified.
Throughout the assessment process, the central question remains: what is a thin on a stamp and how does it affect the artifact’s integrity? Accurate identification, prudent handling and ethical repair practices all contribute to the preservation and responsible stewardship of philatelic materials.
Leave a Reply